So you want to create an New Virtual Machine on VMware workstation but may be having trouble. This will provide a step by step tutorial of how to do that. I will include plenty of screen shots to make it as easy as possible.
Total time it took me to install: 40 minutes.
Click images for a bigger view of the image.
First, open VMware Workstation.
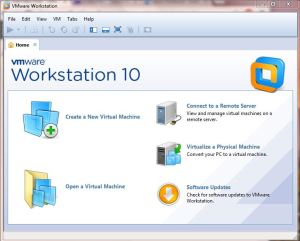
Next, click “Create a New Virtual Machine” then click “Typical (recommended)”. Click Next

Now find your ISO by clicking “Browse” after highlighting Installer disc image file (iso):
I choose my Windows 7 Professional x86 iso

Click the drop down menu under “Version of Windows to install” and pick your preferred version of OS that you want to use. This part can be VERY IMPORTANT depending on which features you want your OS to have. I have had countless times when I skip this and it just takes more time later when you realize what you’ve done wrong. ARRRG.
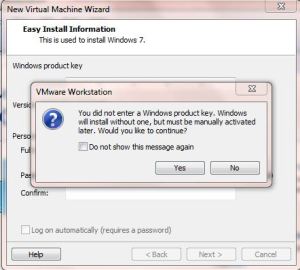
Also this is where you enter the Windows product key and type in your password. Password is optional and you can add the product key at a later time as well. Click Next

You will get a pop up window if you do not enter a product key here and you can just click “Yes” to continue if you want to add it at a later time. I will show you where and how you can enter the product key in a later step.
Now, enter the name of the virtual machine name of your choice and you may want to copy and paste the location of the virtual machine so you know where the files are being stored.

Pick the size of the disk size that you want this virtual machine to take up. The default on this version of Workstation is 60 but I lowered it to 10 GB.
Also, VERY IMPORTANT select “Store virtual disk as a single file”. For me it was just easier to locate all the files later if need be.

At this point you may want to give your Virtual Machine more RAM or add CPU’s or NIC card or even add CPU cores. Click “Customize Hardware…” if you want to do this.

Notice in the left hand column that only 1 GB of Memory was give, in the right column I gave it more RAM and raised it to 2 GB. Then click “Close”

Be sure to put the check mark in the box “Power on this virtual machine after creation” then click “Finish”

Now it will start to Create the Disk and you will be on your way soon.

It may show you a this message. You can just click “OK” to continue.

Now the process of installing begins and this process can take 5 to 30 minutes depending if you have a solid state hard drive or not.

And just like that you are done. Sometimes you may need to install VMware Tools.

If you need to install VMware tools you can do so by clicking “VM” in the menu below and scroll done to Install VMware Tools that is located below Manage in the drop down menu.
Also as I stated earlier I would tell you where you can add the product key. You add it by clicking “Help” then a drop down menu will display “Enter License Key…”

Now, some of the more advance features are located on the bottom right side of your VM.
If you right click on the icons on the bottom the next menu will be displayed.

Here you can click on the various Devices in the left column and do such things like add memory, more processor cores and processors, remove the floppy (VM will need to be powered off in order to add or remove some of these features.)
NAT is the interesting one sometimes. You may need to change the NAT setting in order to have internet access. If you have created multiple VM’s and want all of them to connect to each other for instance you want them to all be in the same domain you would configure which VMnet here. Usually by clicking “Custom: Specific virtual network” then make sure they are all on the same VMnet. THAT IS VERY IMPORTANT!

Now Right click the white tab where it says “Windows 7 Blog Tutorial D…”

By doing this you will get the same drop down menu that you get when you click the VM tab on the top of you VM. You will want to take snap shots of your VM in case something goes haywire you can revert back to the snap shot. Snap shots have saved me time and frustration. They are AWESOME.

I hope this has been very useful for you.
Jason
